Shared
Object Repository in QTP, How to Create Shared Object
Repository in Quick Test Professional with Example. This tutorial
will describes the Shared Object Repository in complete details:
- When Application will be dynamic then only Shared or Global Object Repository will be prefer where description of object can be change frequently.
- Difference between local and shared object repository, In Automation project, Shared object Repository can be used more commonly than the local repository.
- But Actually Shared Object repository has administration and maintenance overheads as compared with local object repository.
Following three steps are required
to perform to use and create a shared object repository:
- First of all Creating a Shared Object Repository
- Shared Object Repository Associating
- Shared Object Repository Editing
Let's discuss all of them for a
little while:
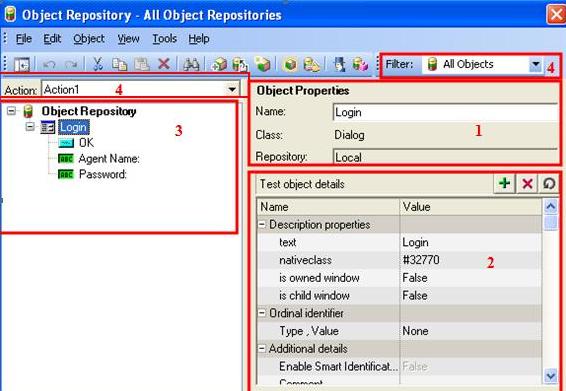
- Shared Object Repository Creation:i. By default all repository are local. So for shared object repository creation – Follow the steps : From Object Repository Dialog Box > Click File > Export Local Objectii. Extension of repository files are .tsr . Assign proper name to it as “LocalToShare” etc and Save it.iii. The creation of Shared Repository File is completed
- Shared Object Repository Association:
- Now turn to associating the repository to your test, Which definitely enable you to use it.
- Steps to Associate Repository are as follows: Click Resources > Associate Repository
- You have options to choose the repository to associate with Actions available in Test.
- Now you can use this repository to test the develop project frequently.
- Shared Object Repository Edition:
- Object Repository Manager can be use for Edit a Share Repository.
- Steps Will be -: Select the Resources > Object Repository Manager. Now you can open the created Object Repository .
- By default mode of opened repository is Read – Only. So click on File> Enable Editing
- After enabling the mode, user can do all the operations like copy, paste, cut, rename objects etc that can also be done in Object Repository.
- Two Object Repositories can be compare using Object Repository Manager. QTP will provide us all static's of common and unique records for both repositories.
- Two Repositories can be merge together with the help of Object Repository merge tool.

Shared Object Repository in QTP


No comments:
Post a Comment